Desk
After being introducted to the "adjustable desk" at my job and finding it to be really useful, I knew that it would be an essential tool for any future home study or work. Not only for the ability to stand, but to dial in the sitting height as well. I did extensive research on what to get. Tried tracking down the exact model from work, but that was a dead end. Watched some videos to familiarize myself with the popular brands. My main concern was wobbling; I didnt want to spend the money, perform the assembly, and then find my self disappointed. Eventually I landed on this company, Deskhaus. This was the only desk I found that had dual legs on each side to promote stability. It's also 3-stage, so it goes higher, and lower, than most standard stuff.
So I pulled the trigger on it, and the legs were shipped to me. I hauled them up to an upstairs apartment and assembled the desk singlehandedly over the course of one day.
The tabletop was another story - after reviewing all the options at deskhaus I decided to go cheaper - a basic composite top from staples. I was able to get it delivered up the stairs for me. Small issue: one of the corners was chipped in transport. I spotted it upon delivery but decided to accept it as I needed to get the desk up and running.

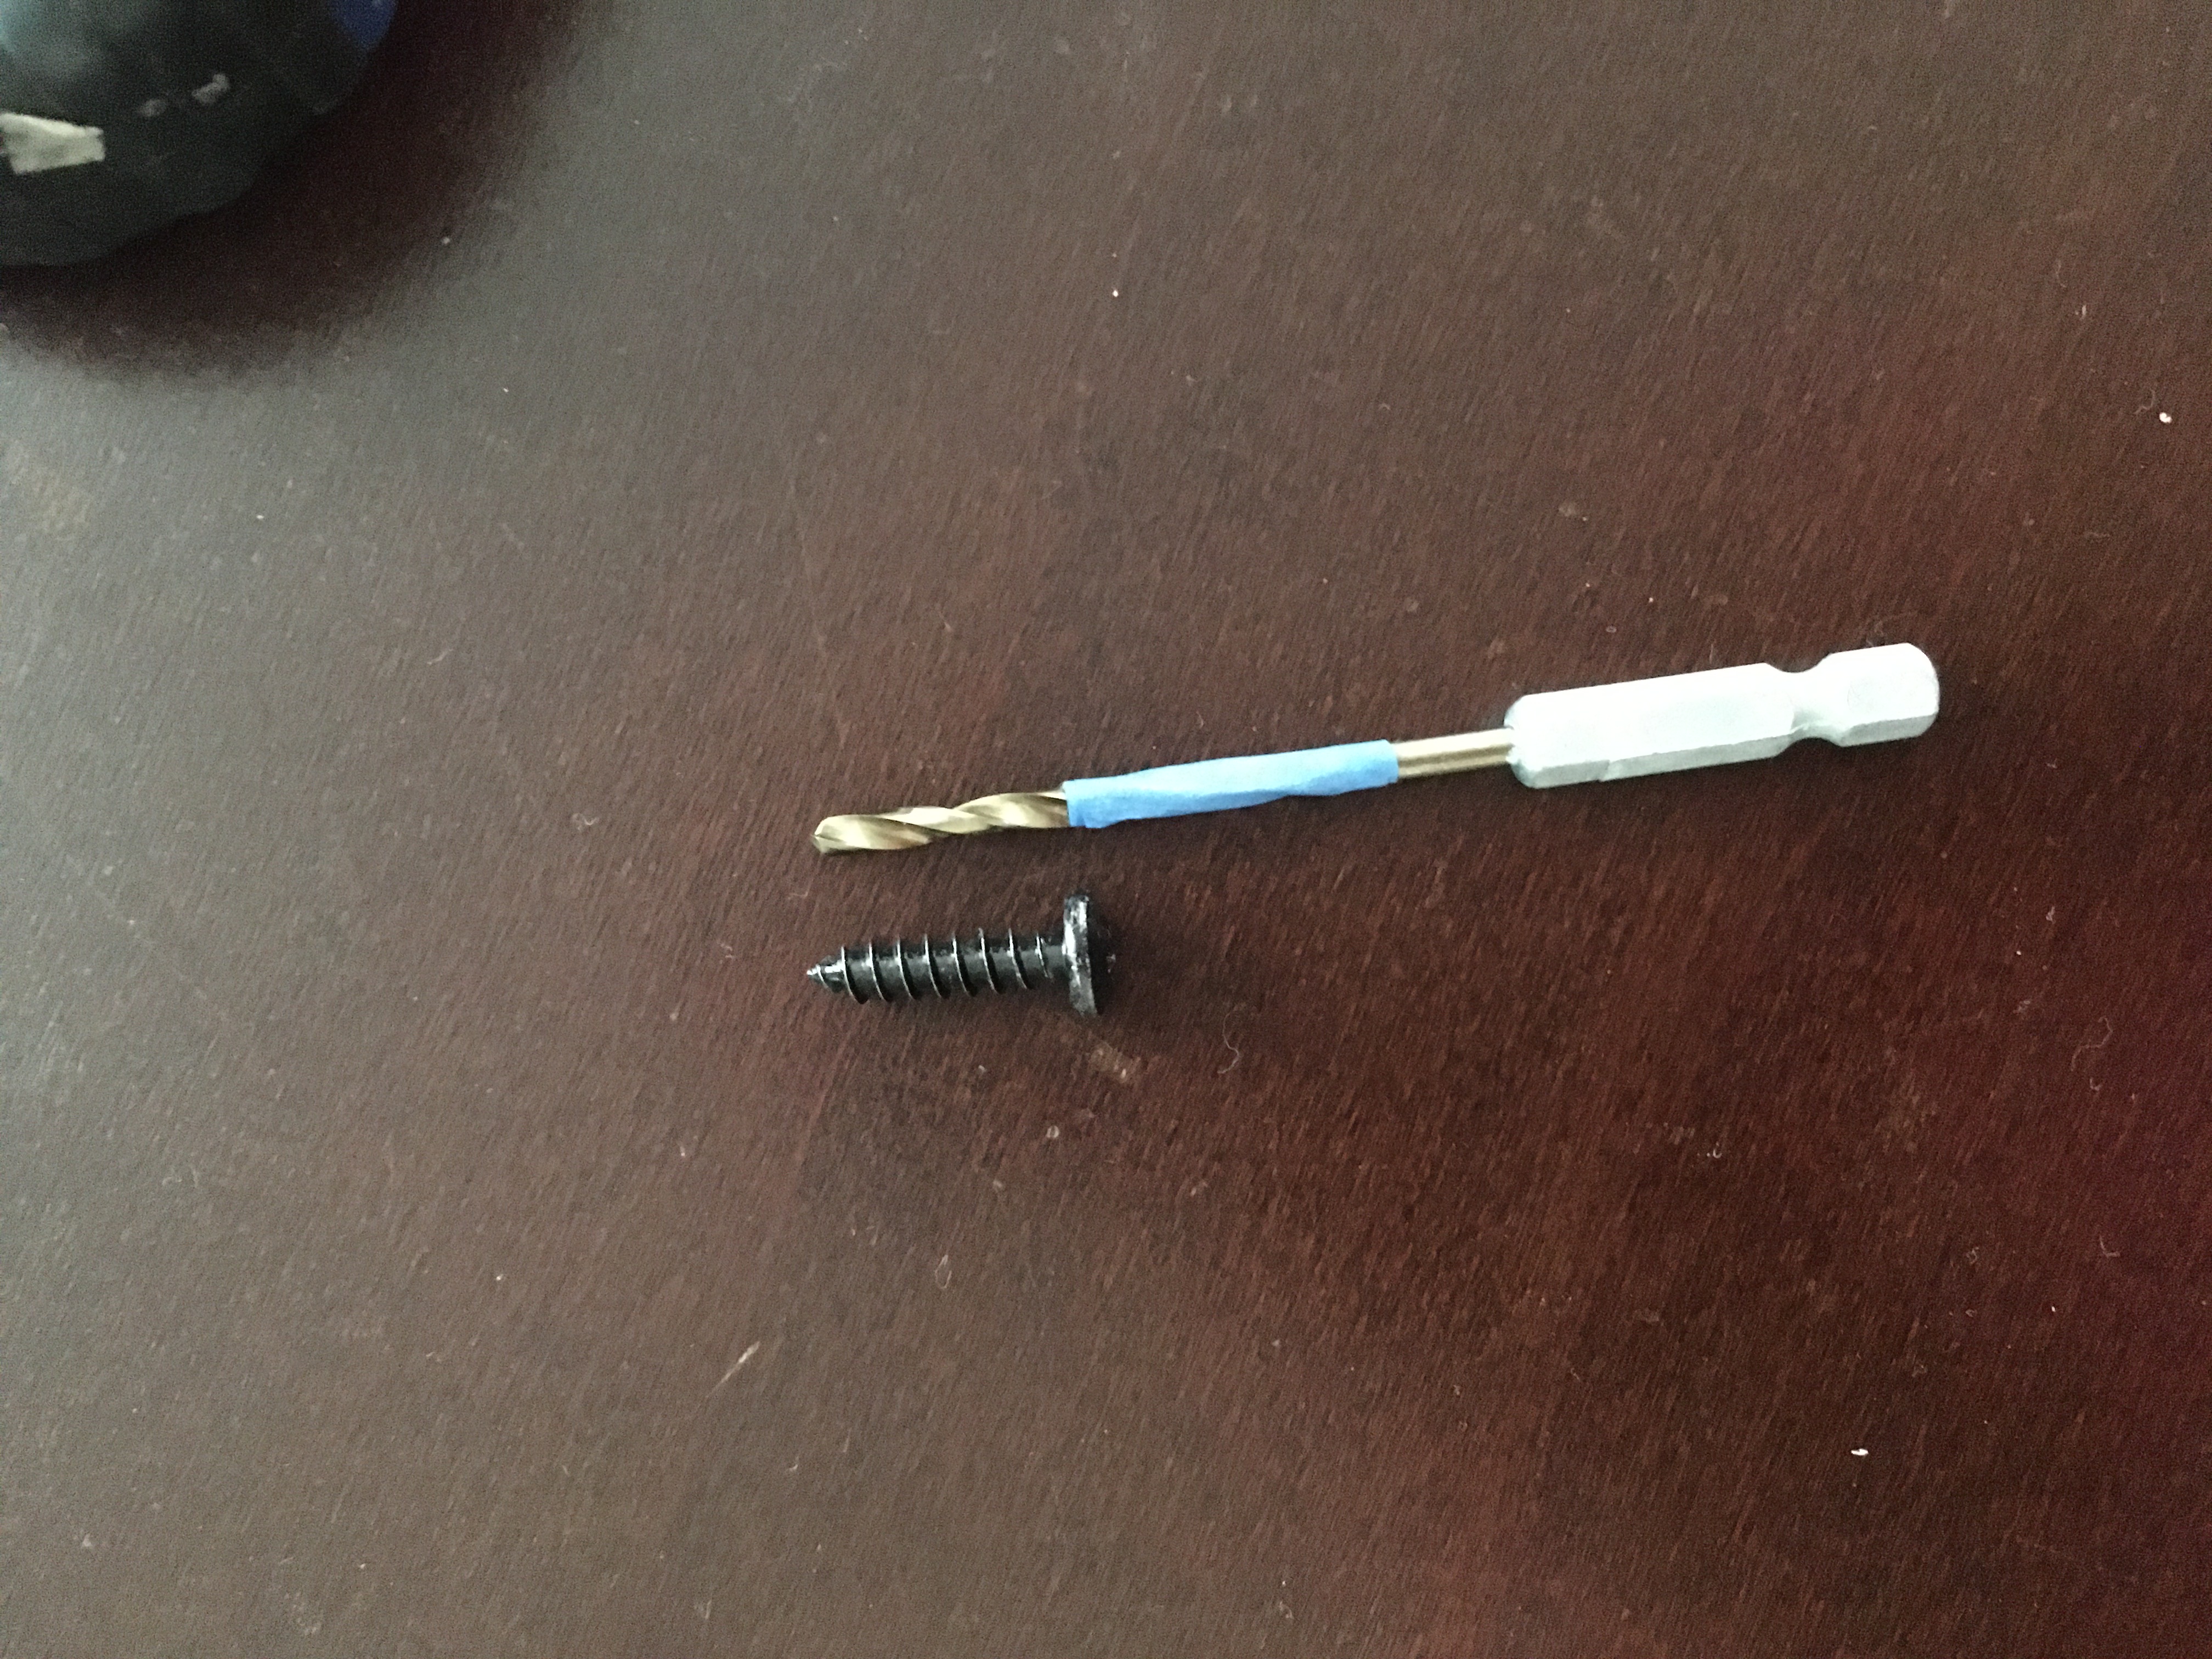
To mount the hardware to the table top, I created some pilot holes.

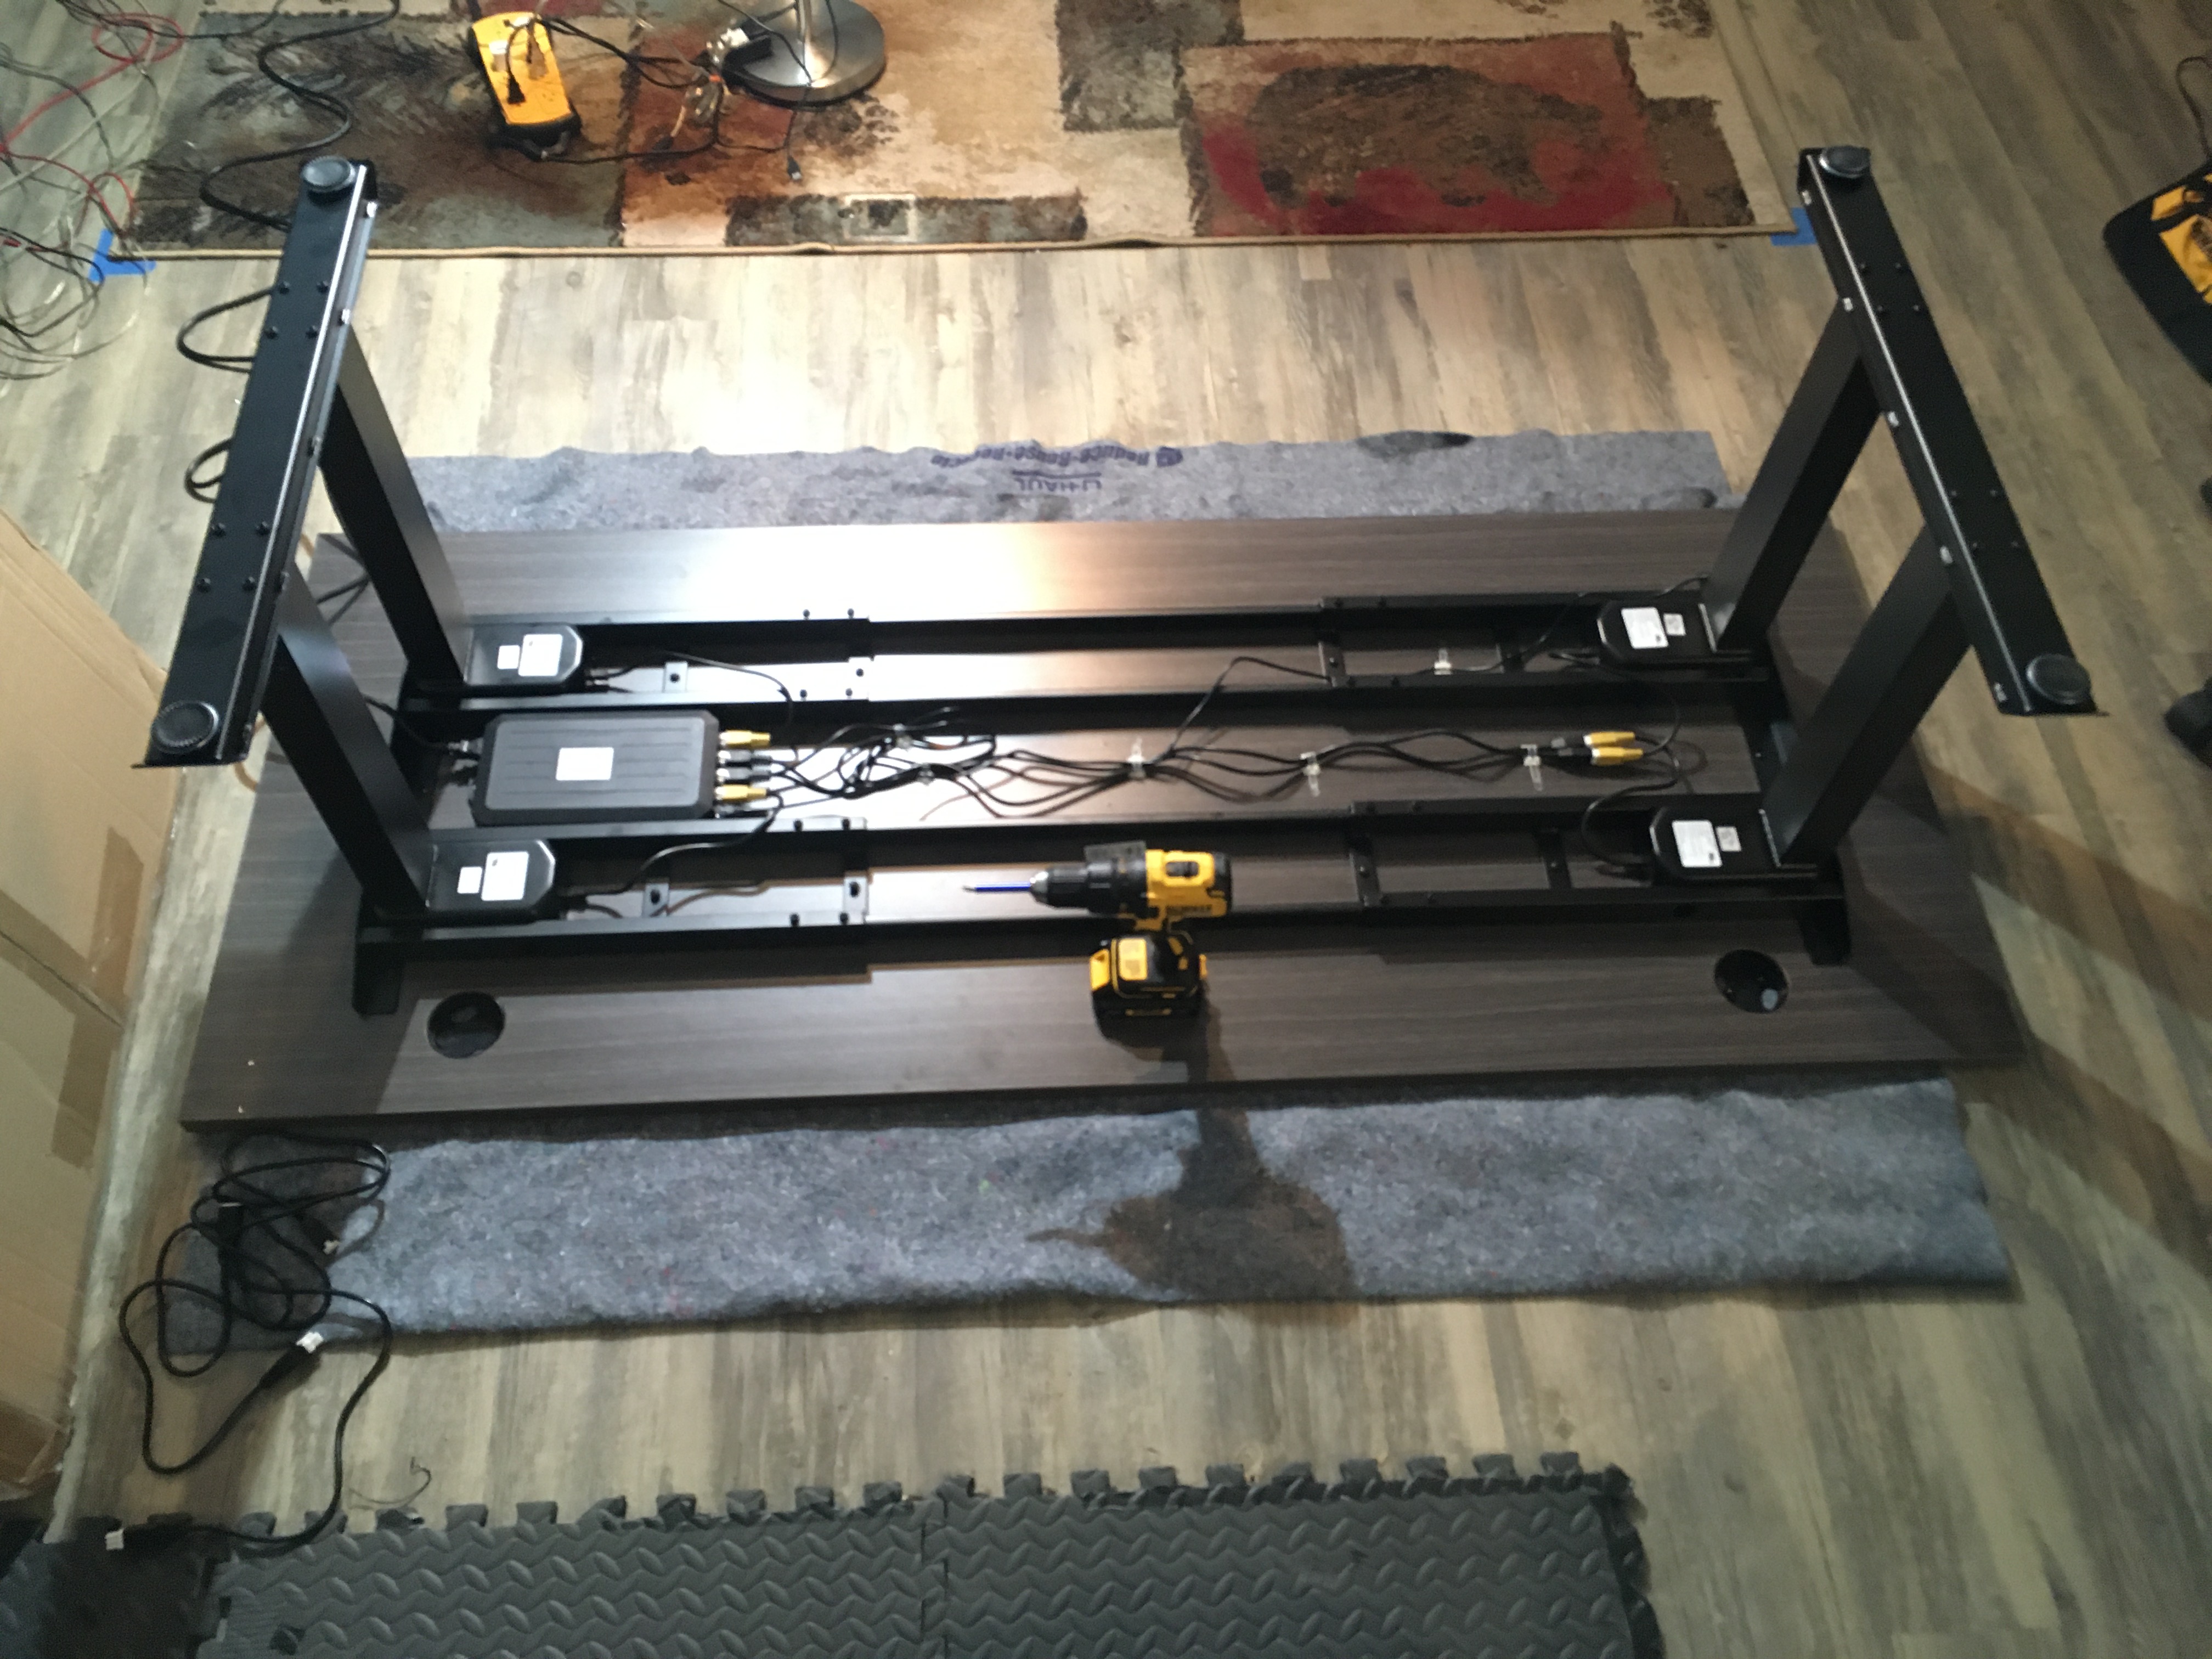
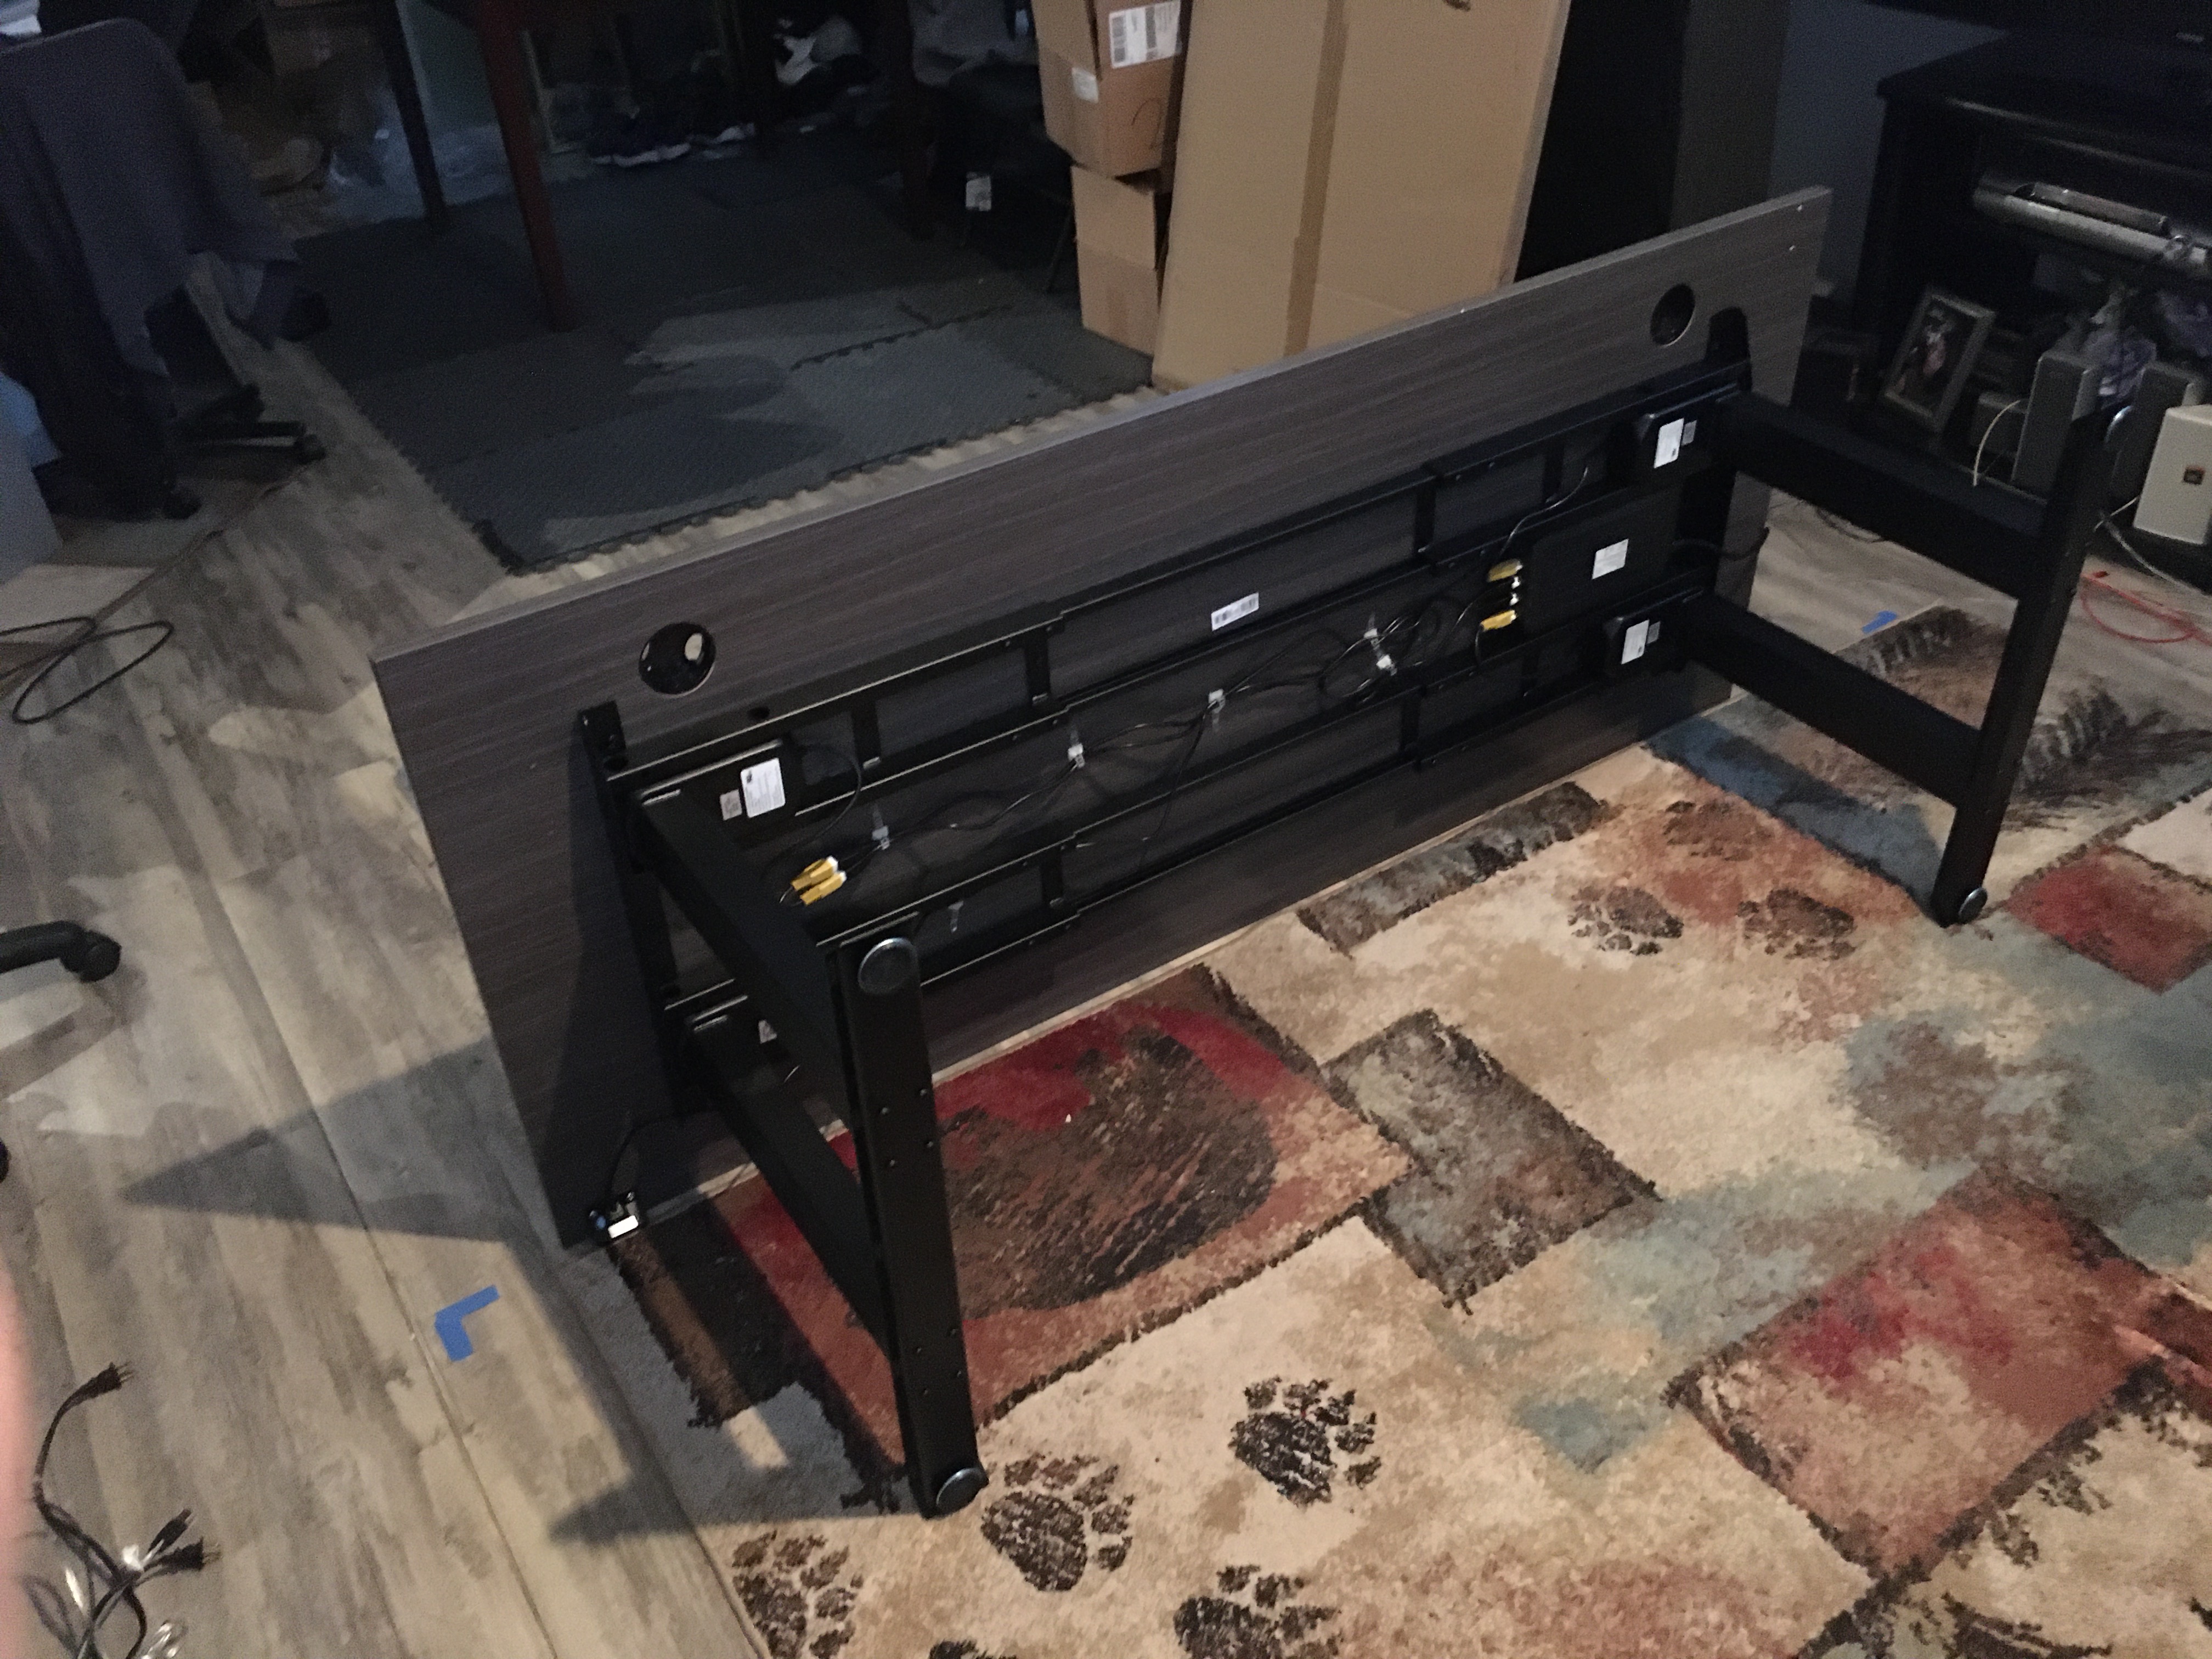
After a failed attempt to assemble this on top of another table, I relocated to the floor. The weight of the entire assembled setup needed to be on the ground where I could flip it upright.


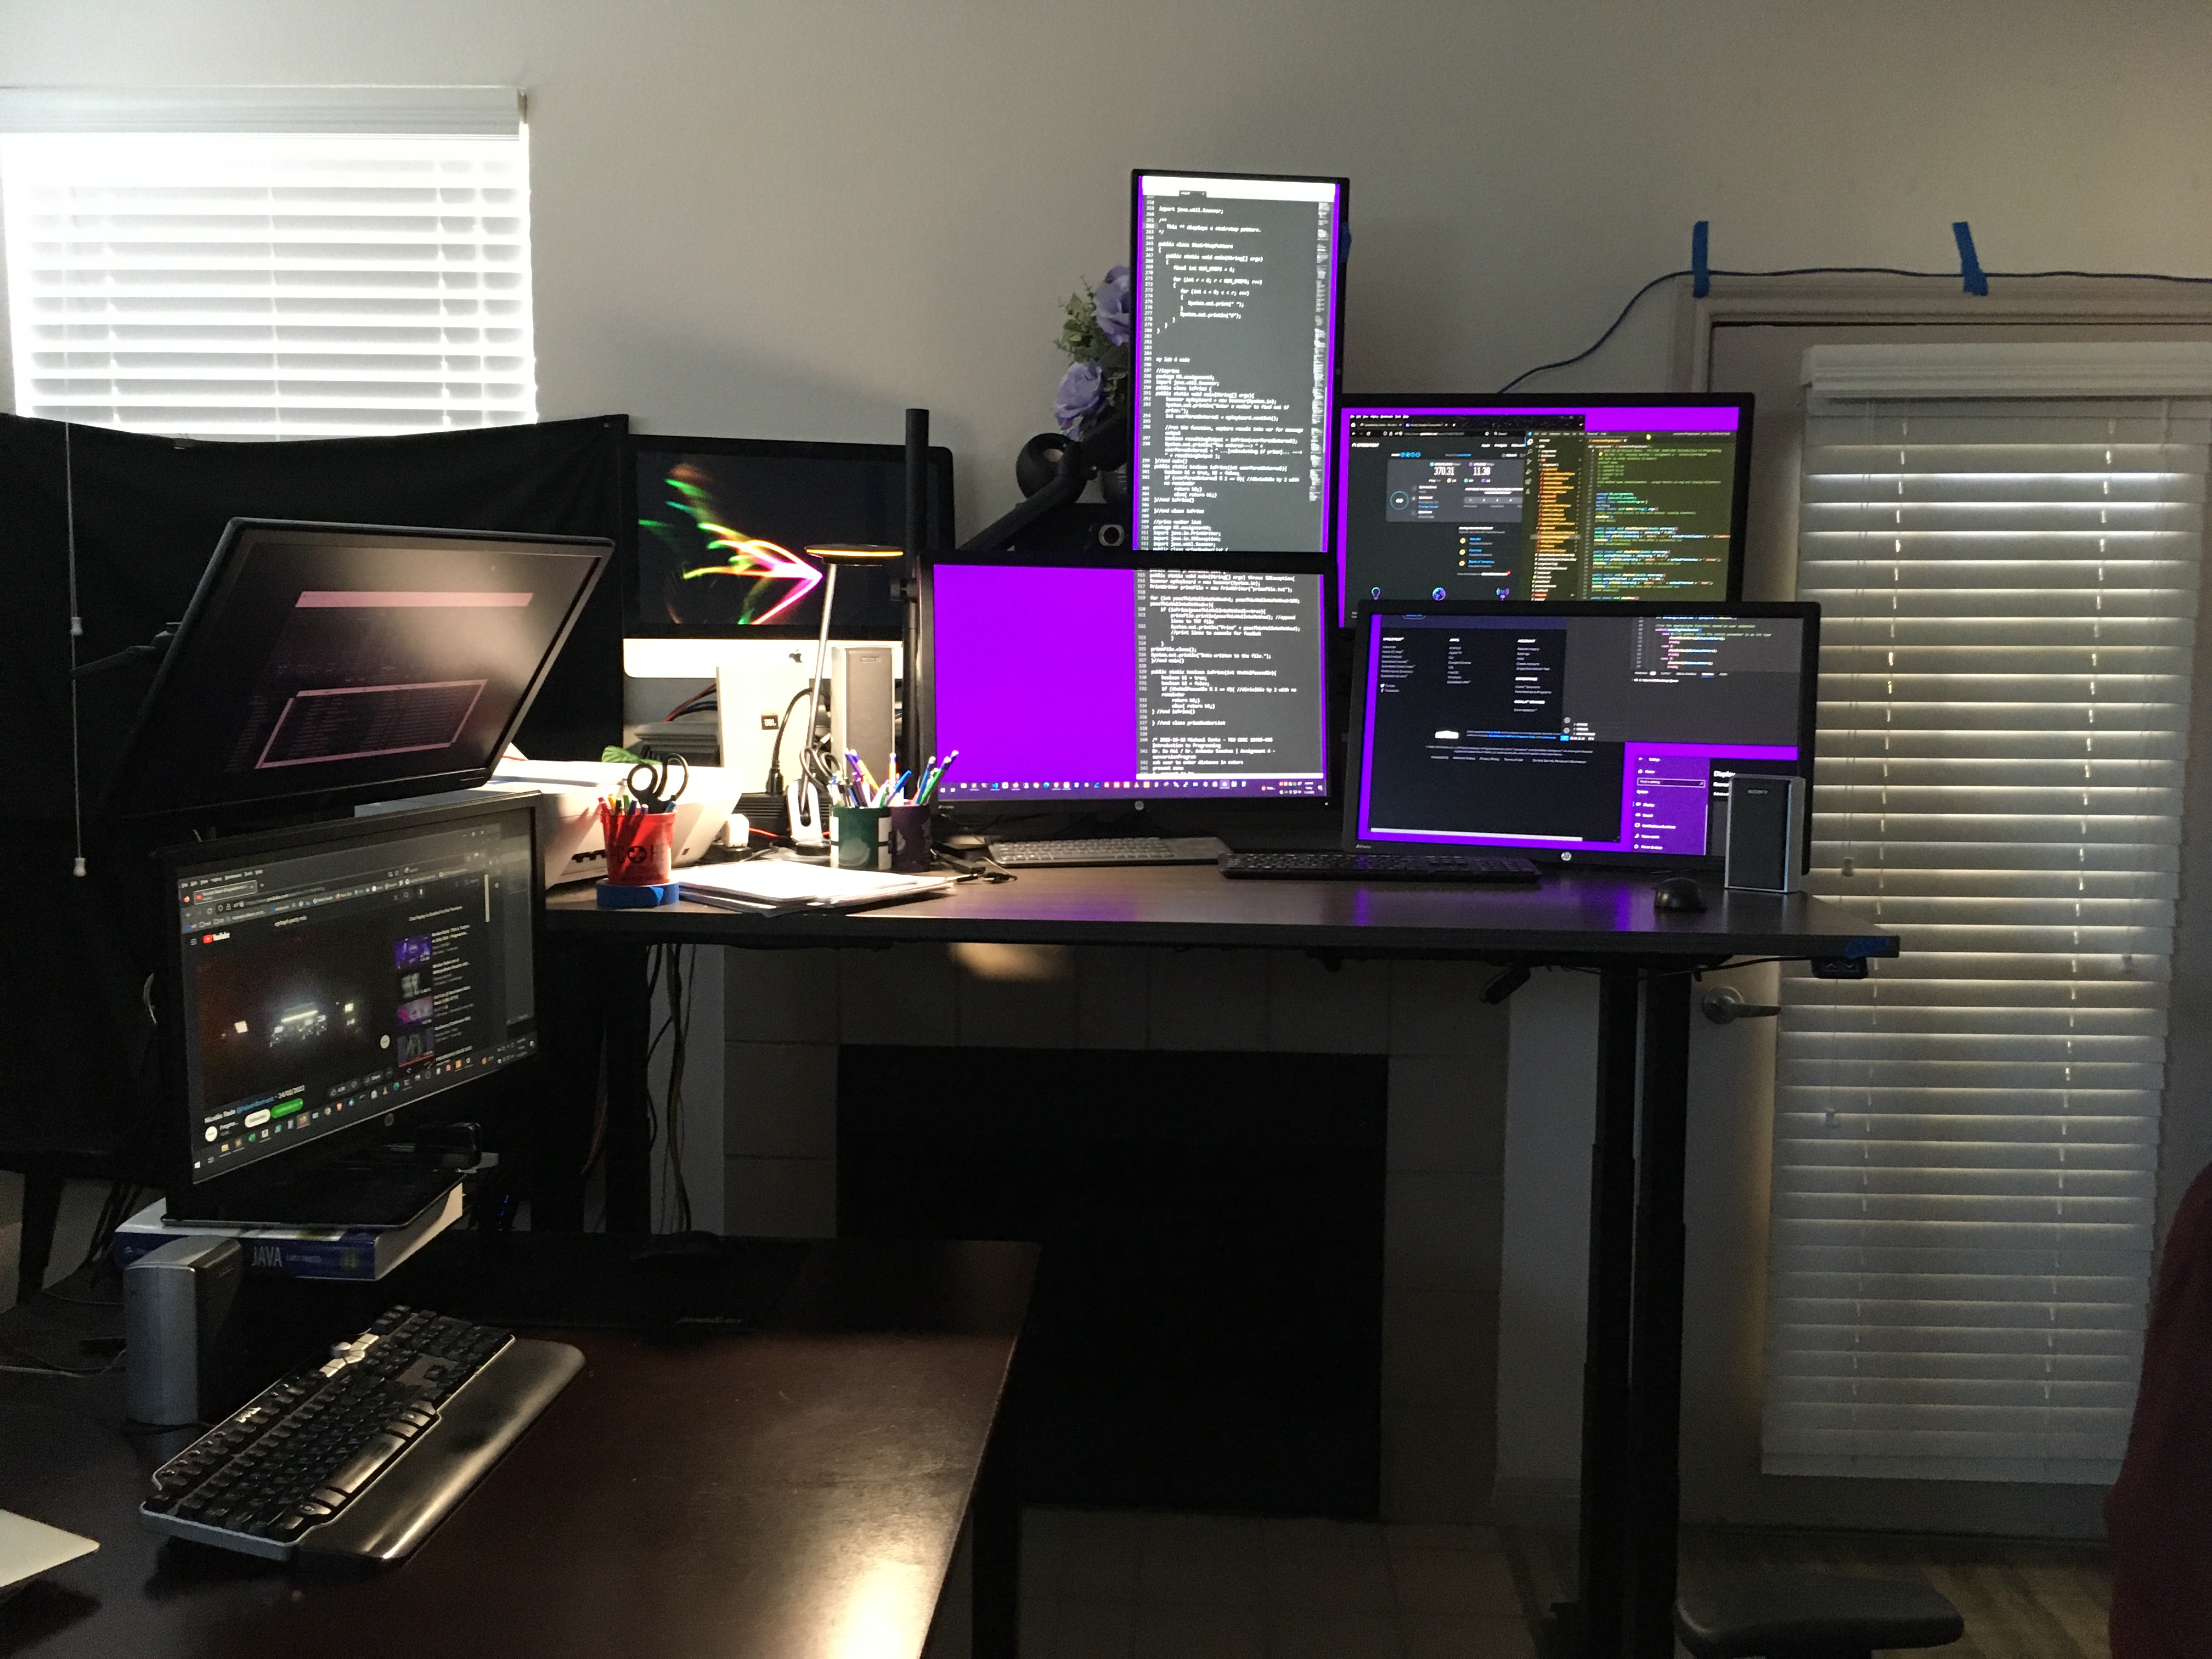
At this time I did not have a fourth monitor. For the next several months I used dual monitors on the desk, plus the third up on the mantle.
...Then added a fourth monitor, to leverage the available ports on my graphics card.

It's integrated into previous setup, the square table, forming an "L" configuration. The two stacked monitors to the left. and desktop below, are my older system.

Drawback:
Since monitor 4 isn't attached to the table top, a gap occurs in the sitting position, and some overlap happens in the raised position. Not much of a problem.
Done:
Established the new desk and 4-monitor setup.
Not yet done:
Upgrade to ergonomical keyboards and mice. At this point I hadnt discovered any of that.
Ergonomic Input Devices
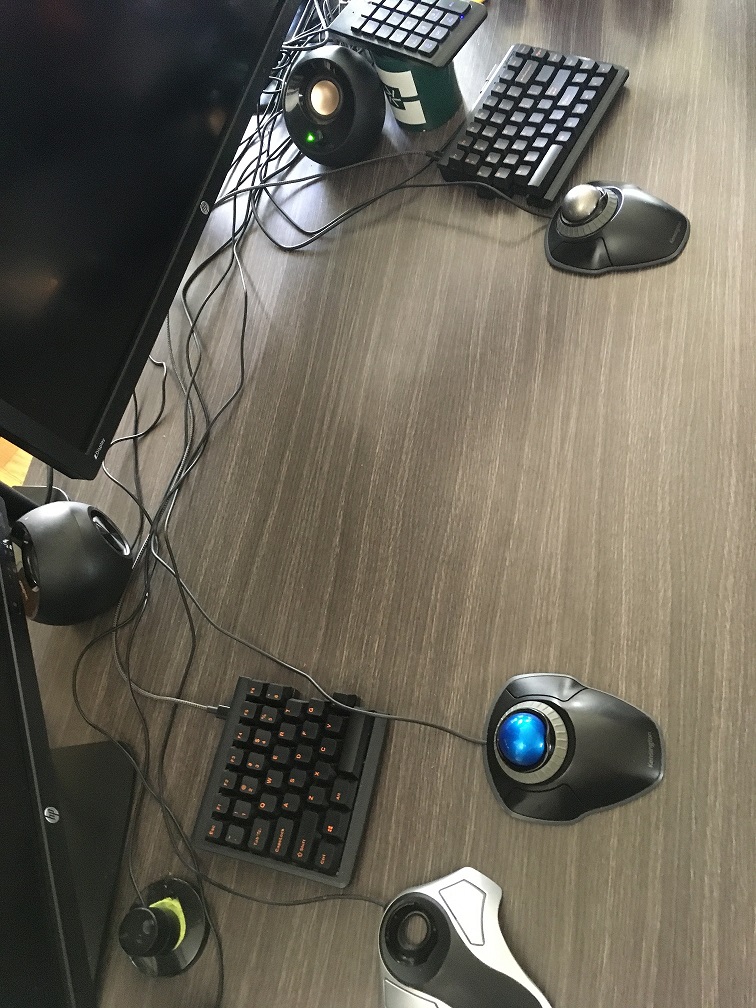
After a lot of trail and error with various devices, I landed on this setup:
| qty | model | make |
|---|
| 2 |
Kensington |
Orbit trackball with scroll ring |
4 |
| 1 |
Kensington |
Orbit trackball original |
5 |
| 1 |
Evoluent |
Vertical mouse right handed |
6 |
| 1 |
Mistel |
Barocco MD770 split keybord, cherry mx clear switches |
7 |
| 4 |
HP |
24" Z Display |
8 |
| 1 |
10-key pad |
Generic |
9 |
| 2 |
Volume Knob |
Generic |
12 |
---end data------
I'll take you through arrangment of these devices to meet my configuration standard.
In additon to having the desk itself at the correct height, it's improtant to have this small platform at dead center. Using a couple of empty boxes, the result is about 12"x12" surface area, 5" high.
This serves as a riser with some usable space, but that's secondary to it's most important function - it gives the necessary structure for propping the keyboards up.
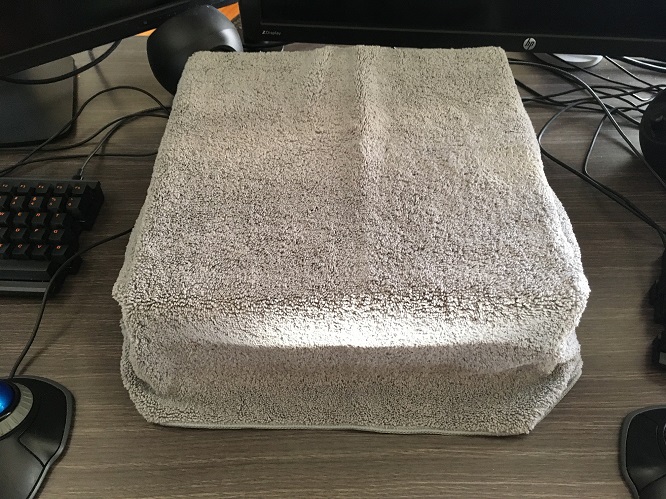
That propping is going to require some additional materials. Adding this microfiber towel gives a cushion to the entire surface. The goal is to elimianate any sliding or bouncing at the contact points of the keyboard on the cardboard platform. Nothing fancy, just tucking the excess material toward the back.
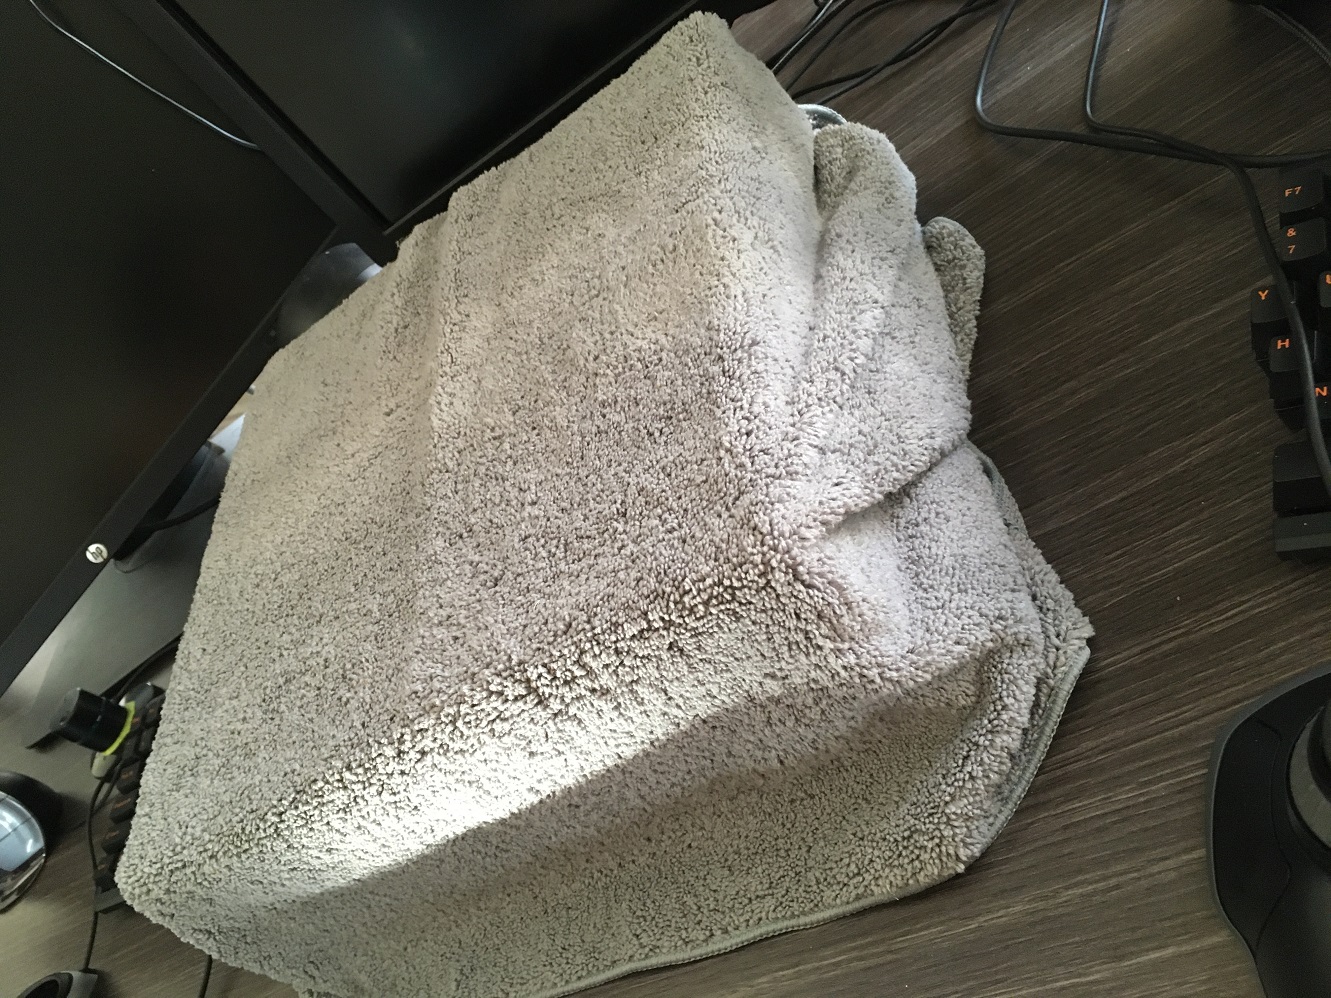
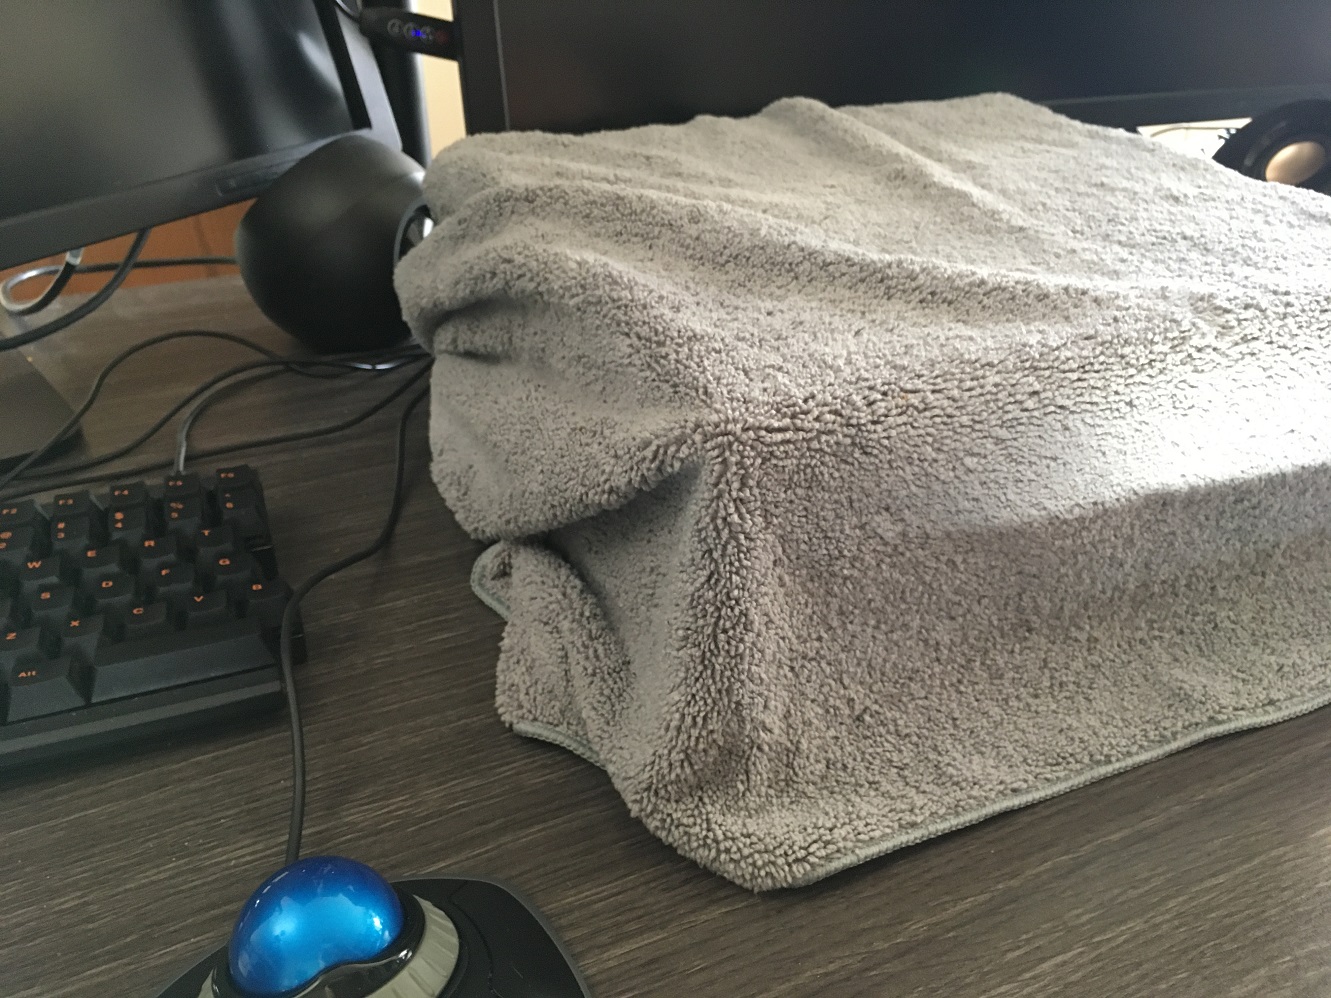
Adding another towel. Slightly noteworthy: this towel is one of two which have been in my tookit for several years; originally purchased for working on iMac hardware, to protect led panels. They were marketed as car detailing towels and are of a higher quality than the newer towels I later got on Amazon.

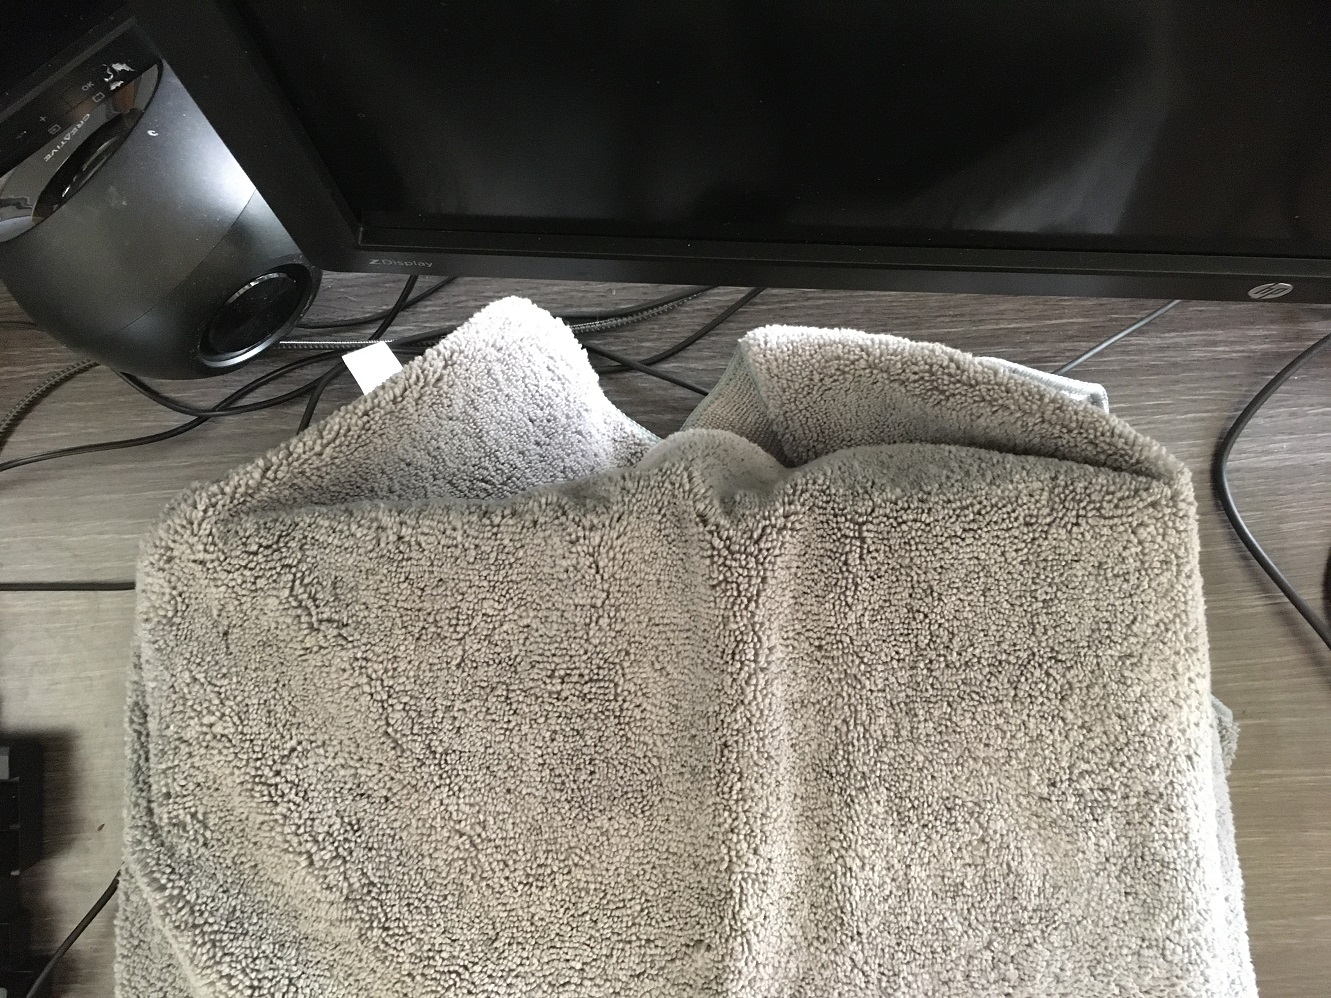
This towel is going to form the basis of the trackball area, up at the front edge of the desk surface. It wil allow me to lightly lean my wrists on the desk. This small bit of thin cloth is vastly better than leaning directly on the hard desk surface. For the most part though I am not putting much weight thru my wrists down into the surface regardless. My shoulders are doing most of the work of suspending my arms when I use this setup. But invetibaly the wrist and forearms will make some light contact. This blue towel gives a nice soft surface for that.

More materials - Im using a physical therapy band here. Its simply lying on the desk surface, arranged around the permiter of the box. Then with some weaking to get it at the right flatness to prevent any rocking, I prop the outer edge of each side of the keyboard on top of the rubber.
The rubber isnt necessary up top; the towel is enough to keep the keyboard secure.

To add some additional rigidty at the base of the center trackball I add this rubber pad which was originally purchased to relive pain from leaning elbows on the desk. I've since learned to not rest my elbows and so this was not useful for it's original purpose, but works pretty well here.

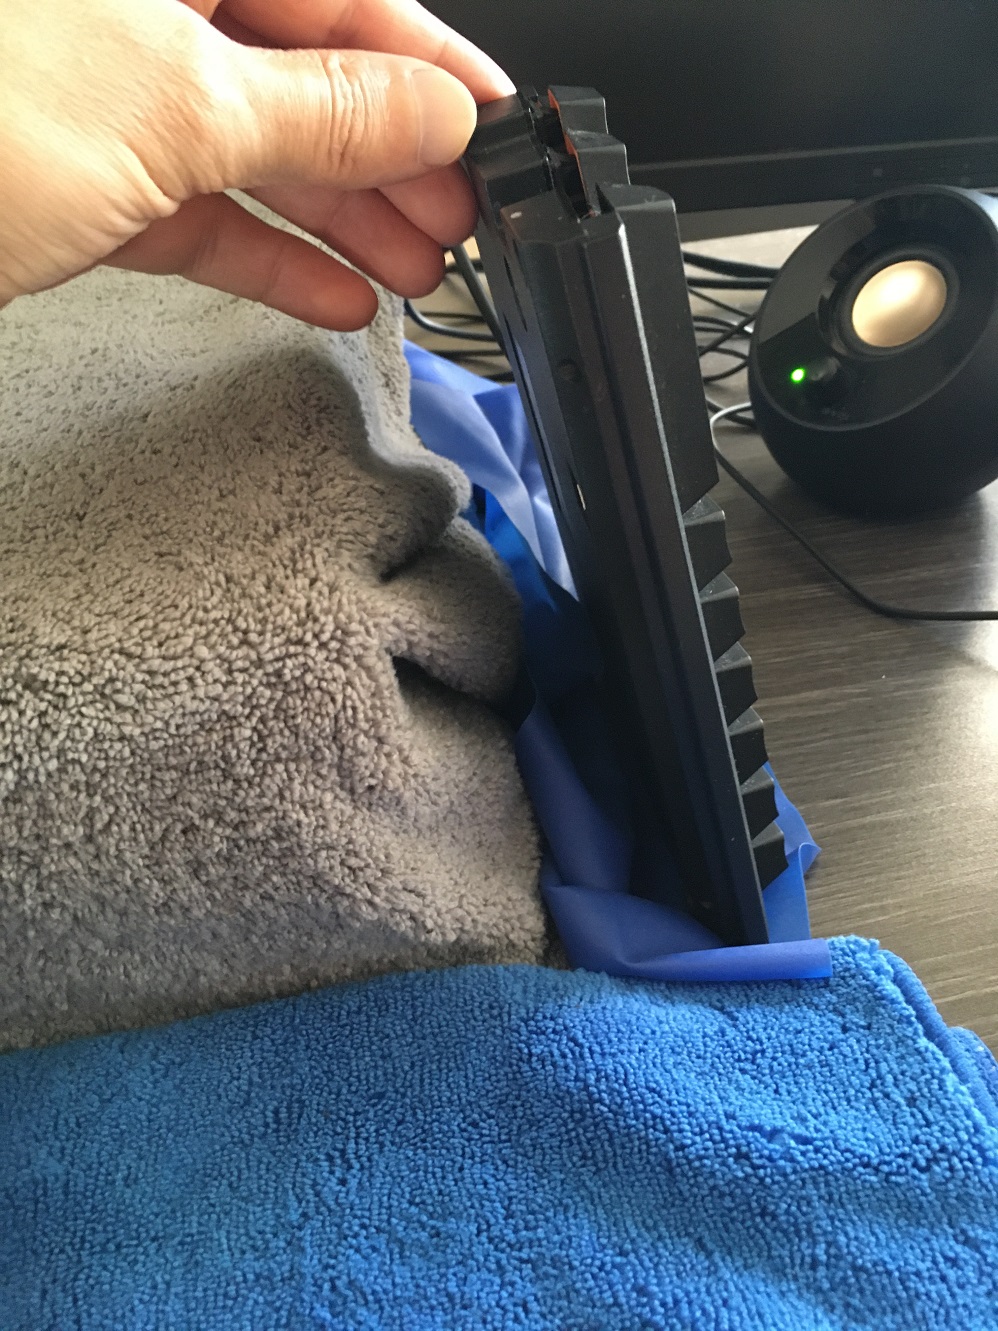
Various views of left-side and right-side keyboards. Its easy to adjust the tilt angle. As you can see I keep it mostly vertical, around 70 degrees tilt.
The ability to easily raise it like this, without losing any positioning, helps here because I need to run the trackball cables.


When it comes to running the cables, I'll just set the keyboards up on the platform for a moment.


Three trackballs total. Three usb cables running to a hub at desk rear. With them in position, I move the keyboards back to conceal the wires and restore my typing angles.
The trackball angles are not as steep as the keyboards. While these dont work great flat at 0 degrees, they dont work well at 90 either.. The trackballs fall out of their cradle past about 50 degree. That is actually much better than other models where the trackbal is not captive. With these two side trackballs, it is captive. It will not 'fall out', but will lose its contact with the rollers past 50. It's not an issue because as it turns out, I like using these around 30 degrees on each side. The towells work well as a base here because they can be molded to fit the angles.
Note on the center trackball - it's missing because it gets in the way. The gray center trackball is an older model from Kensington; the original 'orbit'. It does not have a scroll ring, it does not have an captive trackball, and the trackball that it does have is not as accurate as the other models. Why use it then? Because it's buttons are easier to click than the buttons at left and right. They require less pressure to activate. This serves as one of my primary left-click methods.

At far left rear, you can see the Evoluent mouse. It's a right-hander, but I have it flipped around. I use this for double-click (programmable function). and as another option for single-left-click.

And here we can see where that platform has a very useful purpose And here I have a full plate of food, available to eat right in front of my work. - ( I've added a book to raise things a few inches higher.)
It makes a great writing surface, as well; just add a clipboard on top of the book for a bit more surface area.
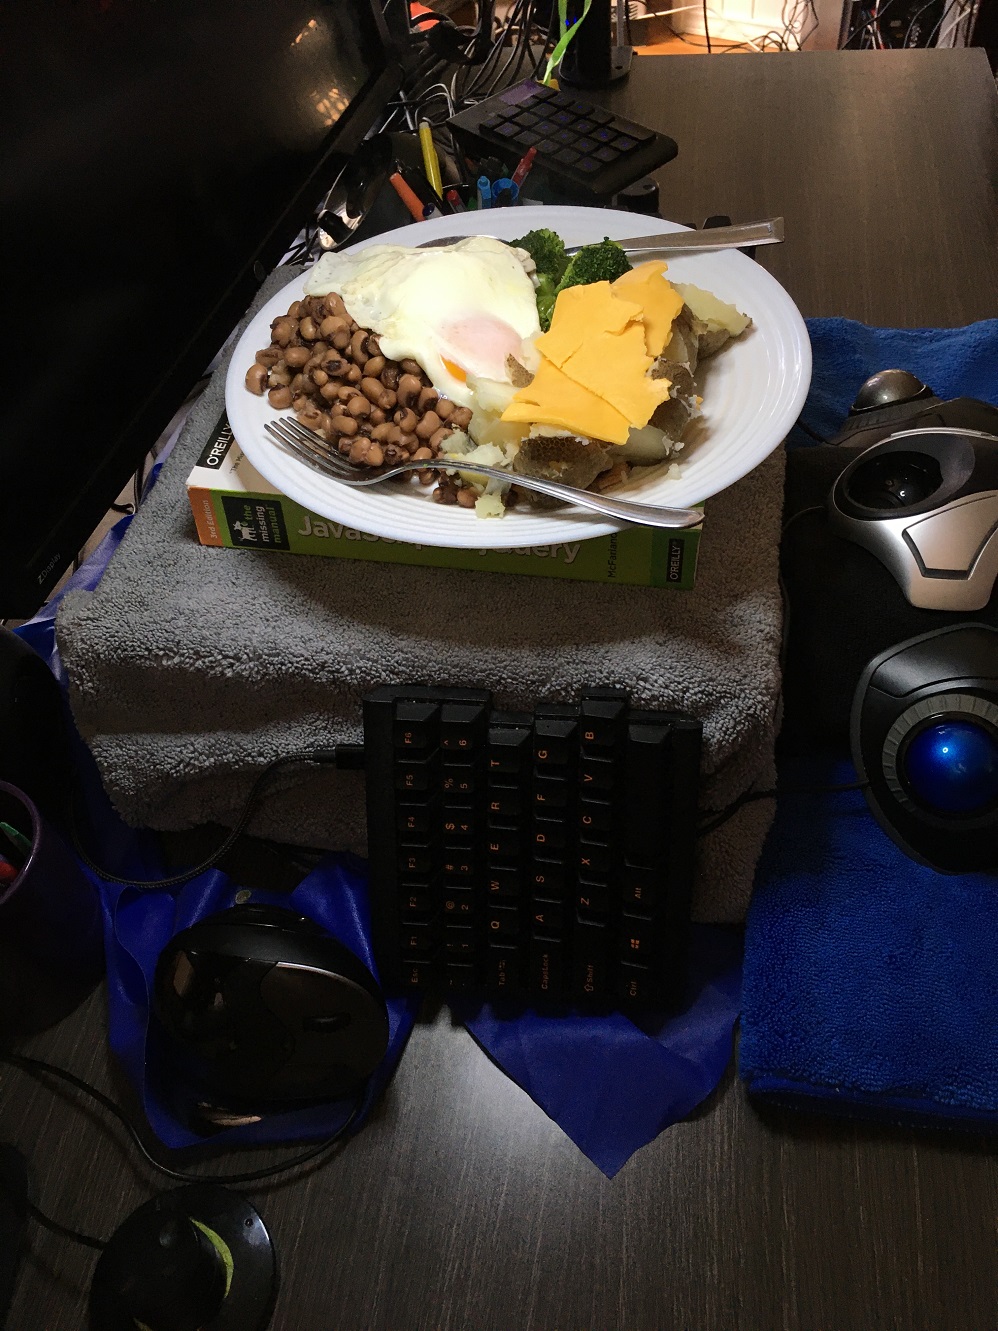

To protect the hardware, I throw down a couple of napkins when eating.

I can eat at my own pace and keep the nutrition going without sacrificing any access to this system. The configruation as a whole allows me to keep elbows and shoulders in a neutral position.
Again this setup was developed after a good bit of trial and error. It's also obviously much different than the standard setup with a flat keyobard and laser mouse. It takes some getting used to, some training and some skill to use this setup effectively. Once the skills are burned it, it serves as an efficient load balancere to prevent RSI injury.
Plenty of room on either side of the keyboards as well, to accomodate paperwork.
 squirrelworks
